Monday, April 23, 2012

Cocoa Cupcakes

These are my very favorite chocolate cupcakes.  These guys are absolutely delicious.  I got this recipe from the newspaper in Denver a good many years ago.  They are pretty easy and well worth the time to make cupcakes from scratch.

3 eggs
1 cup vegetable oil
1/2 cup buttermilk
1 teaspoon vanilla
1 3/4 cups sugar
1/2 cup cocoa
1 teaspoon salt
1 teaspoon soda
1 teaspoon cinnamon
2 cups flour
1 cup boiling water

Directions:
Preheat oven to 350 degrees.
Beat together eggs, oil, buttermilk, and vanilla until smooth.  In a small bowl mix together sugar, cocoa, salt, soda, cinnamon, and flour.  Add dry ingredients to egg mixture one-half cup at a time.  Mix until smooth.  Add boiling water all at once.  Mix until smooth. (Batter will be extremely thin.) 
Pour batter into paper lined cupcake tins, filling them about two-thirds full.  (Or bake it in a greased 9 x 13 inch pan.)
Bake at 350 degrees about 30 minutes or until toothpick inserted in center comes out clean.  (If you use a 9 x 13 inch pan the cake will take longer to bake.)
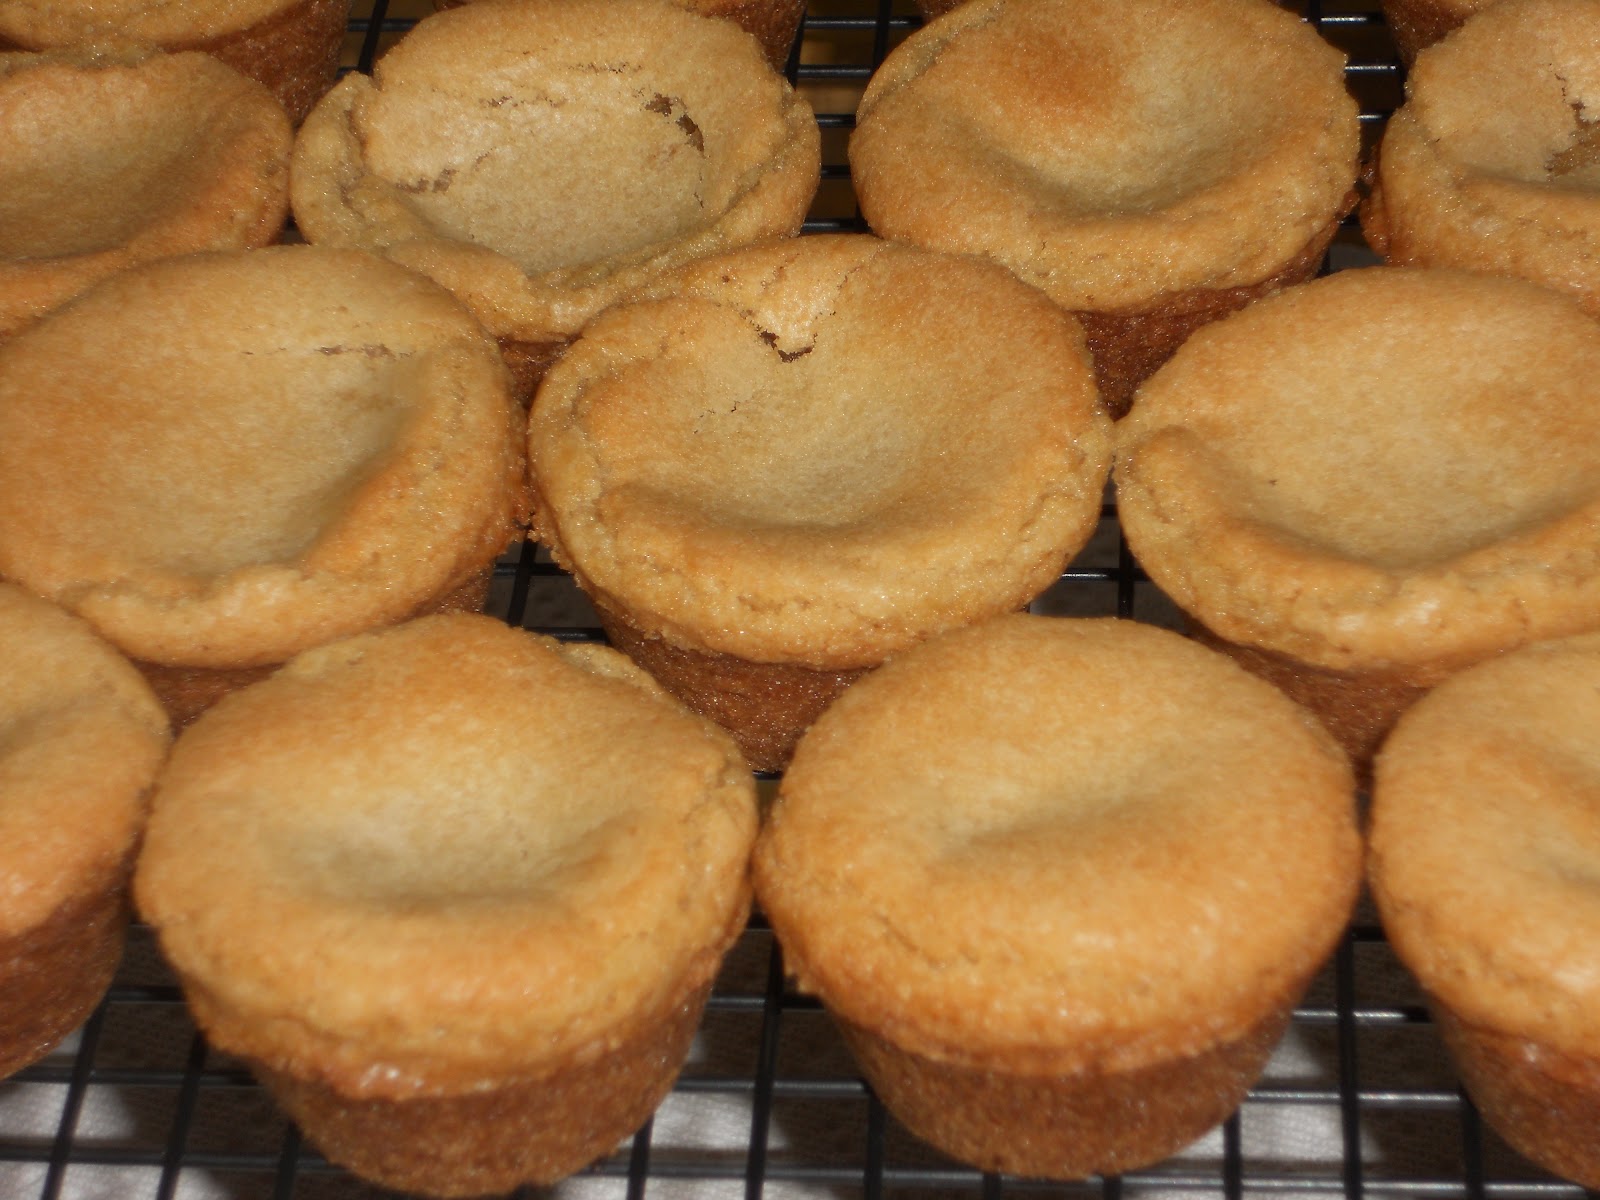
Let cool on a wire rack.
Frost as desired. Try this Fudge Frosting.
Makes 24 cupcakes
 

Paper Bag Scrapbook Album


Materials
3 Paper Bags (I use lunch bags, but any size will work.)
Hole punch tool (It’s quicker to use the three hole punch if you can move the punches close enough.)
Ribbon to bind with (I buy the “Spool o’ ribbon” when it’s on sale.)
Papers, stickers, brads, whatever  (I usually furnish papers, ribbon, and some stickers, but ask for donations for everything else.)
Pictures (I take pictures throughout the year and print them.  I also send a note home telling parents that we are doing a project and have them send some pictures of the child and their family or whatever.)

1. Take your 3 paper bags and lay them on top of each other alternating the ends.


2. Fold them in half to create a book. The three open ends each form a pocket.  We make tags and other things to stick in the pockets.  We usually tie or staple a ribbon on each tag to facilitate pulling them out of the pockets.
Punch three holes along the spine through all three folded bags.

3. Push a ribbon or two through each hole and tie off.


4. Decorate your album with any of the embellishments you have. 


I always print a few sayings about Mother’s day for the students to use as fillers if they want.

I fold the bags and punch the holes.  My students do the rest.  I usually cut the ribbons ahead of time, so the students can just take what they need and use it.  I also cut fancy and/or colored papers into pieces just smaller than the “album” pages for the students to use.
For this album I found some green bags at the Dollar store.

Saturday, March 31, 2012

Peeps Treats in a Jar

These make a great little gift to hand out to your friends at Easter time.  They are quick and easy for you and also quick and easy for your friends to make later.  They look so cute and taste great.  Truly a fun idea.

 Pour 1/4 cup Easter M&M’s into a wide mouth pint jar.  Place 6 bunny peeps around the inside of the jar.  Make sure the peeps are facing out.  They should just fit.  Measure 1 cup of Rice Krispies into a plastic sandwich bag, close it, and stuff it into the center of the jar, inside the bunny ring.  Attach directions to the lid and tie a ribbon around the jar.

Directions to place on the jar:

In a small saucepan melt 1 teaspoon of butter.  Snip the Peeps into 2 or 3 pieces and add to the butter.  Heat over medium-low until just melted, stirring constantly.  This only takes about a minute or so.  Don't heat too long. Add the Rice Krispies and M & M’s.  Stir well.  Spread into a buttered small loaf pan or pan of similar size.  Press with a rubber spatula.  Cool and enjoy.

 I molded mine into ovals with my hands to make eggs.  Then I placed a half dozen candy melt wafers in a zipper bag and melted them in the microwave 20 seconds at a time, until they were barely melted.  Then I snipped off a corner of the bag and squiggled the candy melt over the egg shape.


Cadbury filled Cookie Nests


I love these fun little egg nests  and the surprise inside just makes them that much better.  Because you bake them in mini muffin tins they look like little cupcakes, but are truly cookies.  Such a fun Easter decoration and treat.
Ingredients:
2 1/2 cups flour
1 teaspoon baking soda
1 teaspoon salt
1 cup shortening
3/4 cup white sugar
3/4 cup brown sugar
1 teaspoon vanilla
2 large eggs
46 Cadbury mini Eggs

Optional:
Green frosting (I use this marshmallowcream frosting.)
Jelly beans

Directions:
    
Preheat oven to 350 degrees.

Cream shortening, white and brown sugars, and vanilla in the bowl of your mixer. Add eggs one at a time.  Mix well until fluffy.

In a separate bowl combine flour, baking soda, and salt. Gradually add flour mixture to wet ingredients, about half cup at a time. Mix until the dough starts to pull away from the bowl of the mixer.

Using a tablespoon of dough, wrap a Cadbury mini egg so it is completely covered. Place the cookie inside a well greased mini muffin tin. Only use a tablespoon of dough or your cookie will spread over the top of the pan and will break when you try to take it out.
 Bake at 350 degrees for about 9 minutes or until golden.   Let the cookies cool in the pan for about 6 or 7 minutes so you can lift them carefully out of the pan.  Do not try to take them out immediately or they will crumble. If  they don’t come out easily let them cool a minute more. But don’t cool the cookies completely in the pan or they’ll stick to the pans and you won’t be able to take them out.  After removing cookies from the pan set them on a rack and let them cool completely.
 Squiggle frosting over the top and add jelly beans. I use M&M eggs, Cadbury Mini eggs, and Starburst Jelly beans on mine.  


Adapted from In Katrina’s Kitchen